Showing posts with label Tutorial. Show all posts

Tuesday, October 25, 2011

Photoshopping

I wanted to give you guys a little tip on photoshop. 
I am sure you could do it in other programs as well.

I LOVE this photo of the Huntington Beach Pier, but it is lacking some umph.

Introduce some PW Actions...I believe I used the Boost here.  One of my faves.  Talk about umph!

I made this into a layout.  It is softened with a paper layer over the photo.  I have the words to Where I Belong by Building 429 on the side.

Here's the song for you. 
It really speaks to me.

Wednesday, July 16, 2008

Photo part3


Picture 1 (In this post)
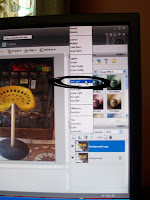
Select Soft Light
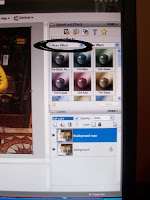
Picture 2 Go to Photo Effects and click Sepia.
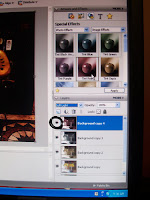
Picture 3 You can click as many of the tints as you like. Hint: see the eyeball (you have to love that!!), when you click on it it takes away that layer so you can see how it looks without it, without deleting it.
There you go. it's easier than it looks! It's Christine Do-able!!
P. S. This doesn't work with every picture. Just try it, if not just try the old Auto Smart Fix under Enhance. Good luck! Let me know how it works for you!!!

Photo part 2


I'm going to have to do this in parts. I hope it works better that way.

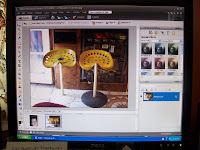
Pictire 1. (after opening PSE)

Click the photo you want to work on.

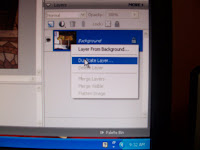
Picture 2. In the layers section right click on the photo layer and select Duplicate Layer

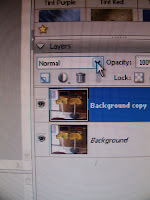
Picture 3. In the layers sections still click on the arrow by Normal. A long window will come up.

Photo Enhancement


A dear friend asked me to do this. Do here it goes. The pictures aren't the greatest but I think you'll get the idea. Also, this is using Photoshop Elements.

How to get your pictures from Pictures A to Picture B.